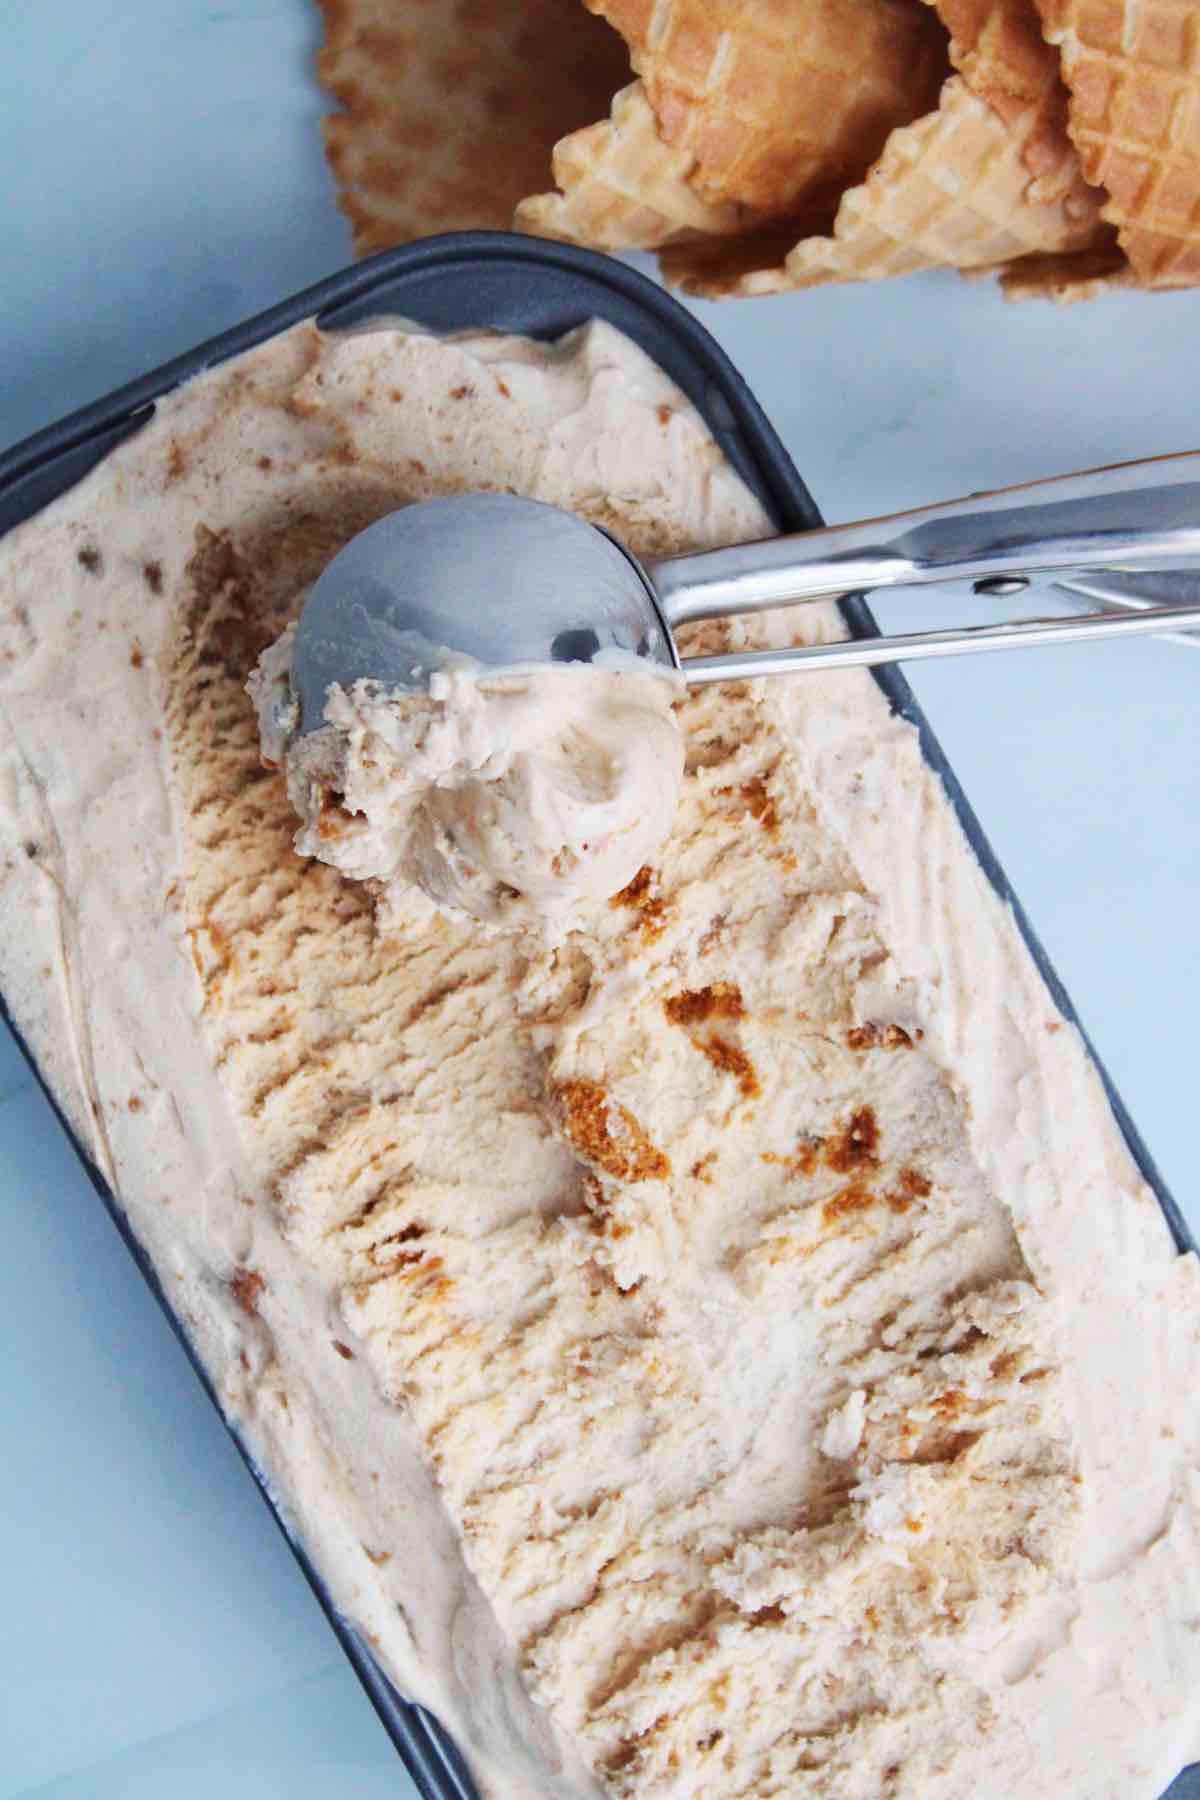
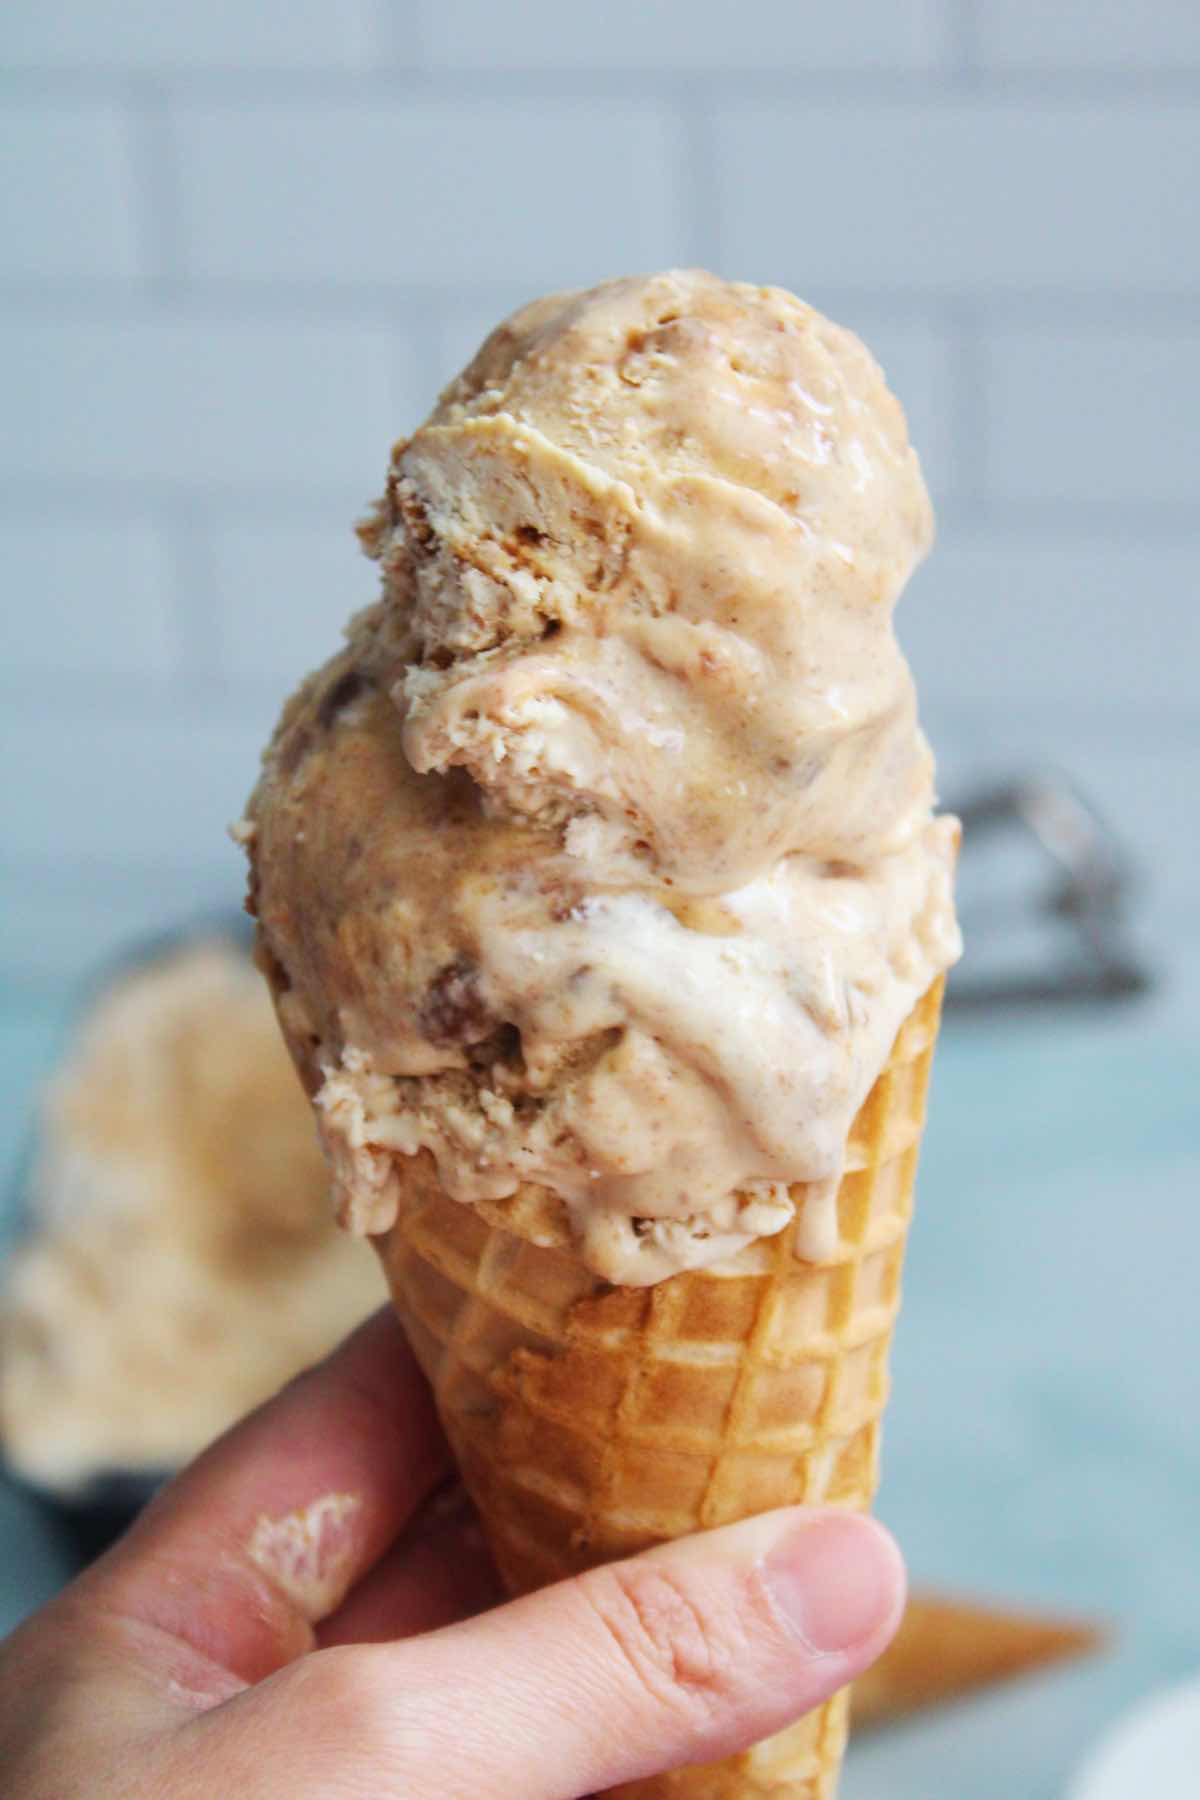
Cool down from the heat this summer with a big cone of this creamy no churn Trader Joe’s copycat cookie butter ice cream.
Homemade biscoff cookie spread is the main ingredient in this decadent treat. Everyone in my household absolutely loves cookie butter, especially when it’s homemade. But the last time I made this Homemade Biscoff Cookie Spread, we had some leftovers that I decided to get creative with. That’s when this homemade biscoff cookie ice cream was born. Once you try it, you will absolutely become hooked to making your own no churn ice cream at home, so make sure to give this Dulce de Leche Ice Cream a try as well while you’re at it.
This post contains affiliate links. As an Amazon Associate, I earn from qualifying purchases.
An Explanation Of The Ingredients
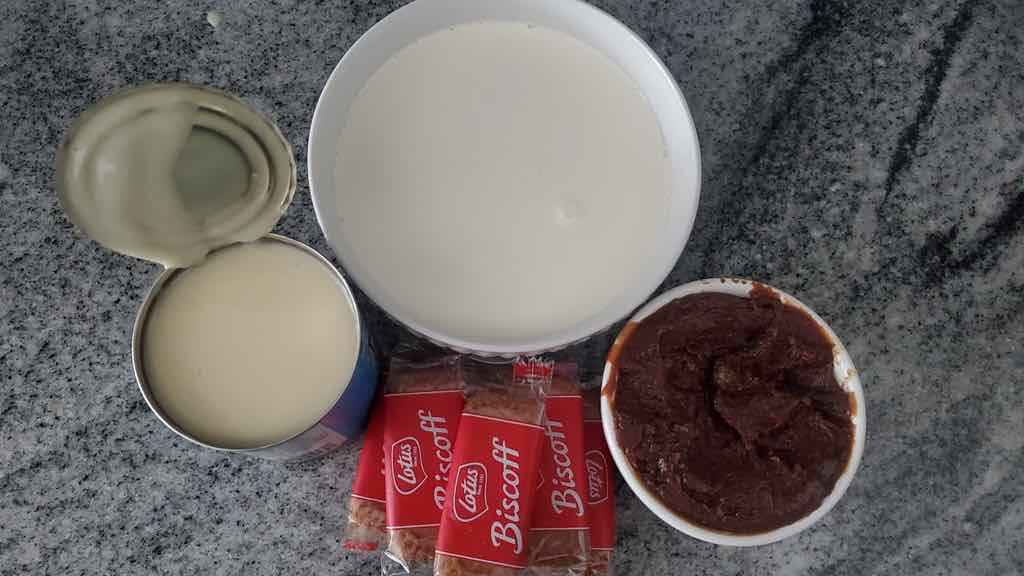
- Cookie Butter – Make a homemade version or purchase store bought cookie butter from Trader Joe’s if you prefer.
- Heavy Cream – Beat the heavy cream on high until stiff peaks form.
- Sweetened Condensed Milk – Mix together the cookie butter and sweetened condensed milk.
- Lotus Biscoff Cookies – Crush the biscoff cookies into large crumbs and add it to the ice cream mixture.
How To Make Trader Joe’s Cookie Butter Ice Cream
- First, start by making your very own Homemade Biscoff Cookie Spread. Or buy the store bought version if you prefer.
- In a stand mixer, beat the heavy cream on high speed until stiff peaks form and it resembles whipped cream.
- In a separate bowl, mix together the sweetened condensed milk and cookie butter. Mix until the two ingredients are fully combined.
- Pour the sweetened condensed milk and cookie butter mixture into the heavy cream.
- Add crushed Lotus biscoff cookie crumbs to the ice ream batter.
- Use a spatula to fold the ingredients into the heavy cream. Do not over mix because you don’t want the whipped cream to deflate.
- Pour the ice cream mixture into a 9×5 inch loaf pan.
- Cover with plastic wrap and freeze for at least 6 hours or preferably over night.
- Finally, enjoy your cookie butter ice cream right away.
Where Can I Buy Cookie Butter?
Cookie butter or spread is most commonly found at Trader Joe’s Other supermarkets and online retailers have started selling it recently as well.
Ideas For Toppings
- Sprinkles
- Chocolate or Caramel Syrup
- Nuts
- More Biscoff Cookie Crumbs
- Marshmallows
Storing Suggestions For No Churn Ice Cream
Storing leftover cookie butter ice cream is simple. Cover the ice cream with plastic wrap and wrap the plastic tightly all around the loaf pan. The plastic wrap will prevent freezer burns. You can also use an air tight container or an old ice cream container instead. I recommend consuming no churn ice cream within 7-10 days for best results.

Recipe Notes
- Make sure to wrap the plastic wrap around the loaf pan when storing the ice cream. This will prevent freezer burns and crystallization.
- If you’re planning on making homemade cookie butter, find the full recipe and instructions here.
- If you don’t have a loaf pan, you may use a pie dish, air tight container or even an old ice cream container.
Cookie Butter Ice Cream
Equipment
Ingredients
- 1/2 cup cookie butter
- 14 oz sweetened condensed milk
- 2 cups heavy cream
- 1/2 cup Lotus Biscoff Cookies crushed
Instructions
- First, start by making your very own Homemade Biscoff Cookie Spread. Or buy the store bought version if you prefer.
- In a stand mixer, beat the heavy cream on high speed until stiff peaks form and it resembles whipped cream.
- In a separate bowl, mix together the sweetened condensed milk and cookie butter. Mix until the two ingredients are fully combined.
- Pour the sweetened condensed milk and cookie butter mixture into the heavy cream.
- Add crushed Lotus biscoff cookie crumbs to the ice ream batter.
- Use a spatula to fold the ingredients into the heavy cream. Do not over mix because you don’t want the whipped cream to deflate.
- Pour the ice cream mixture into a 9×5 inch loaf pan.
- Cover with plastic wrap and freeze for at least 6 hours or preferably over night.
- Finally, enjoy your cookie butter ice cream right away.
Notes
- Make sure to wrap the plastic wrap around the loaf pan when storing the ice cream. This will prevent freezer burns and crystallization.
- If you’re planning on making homemade cookie butter, find the full recipe and instructions here.
- If you don’t have a loaf pan, you may use a pie dish, air tight container or even an old ice cream container.