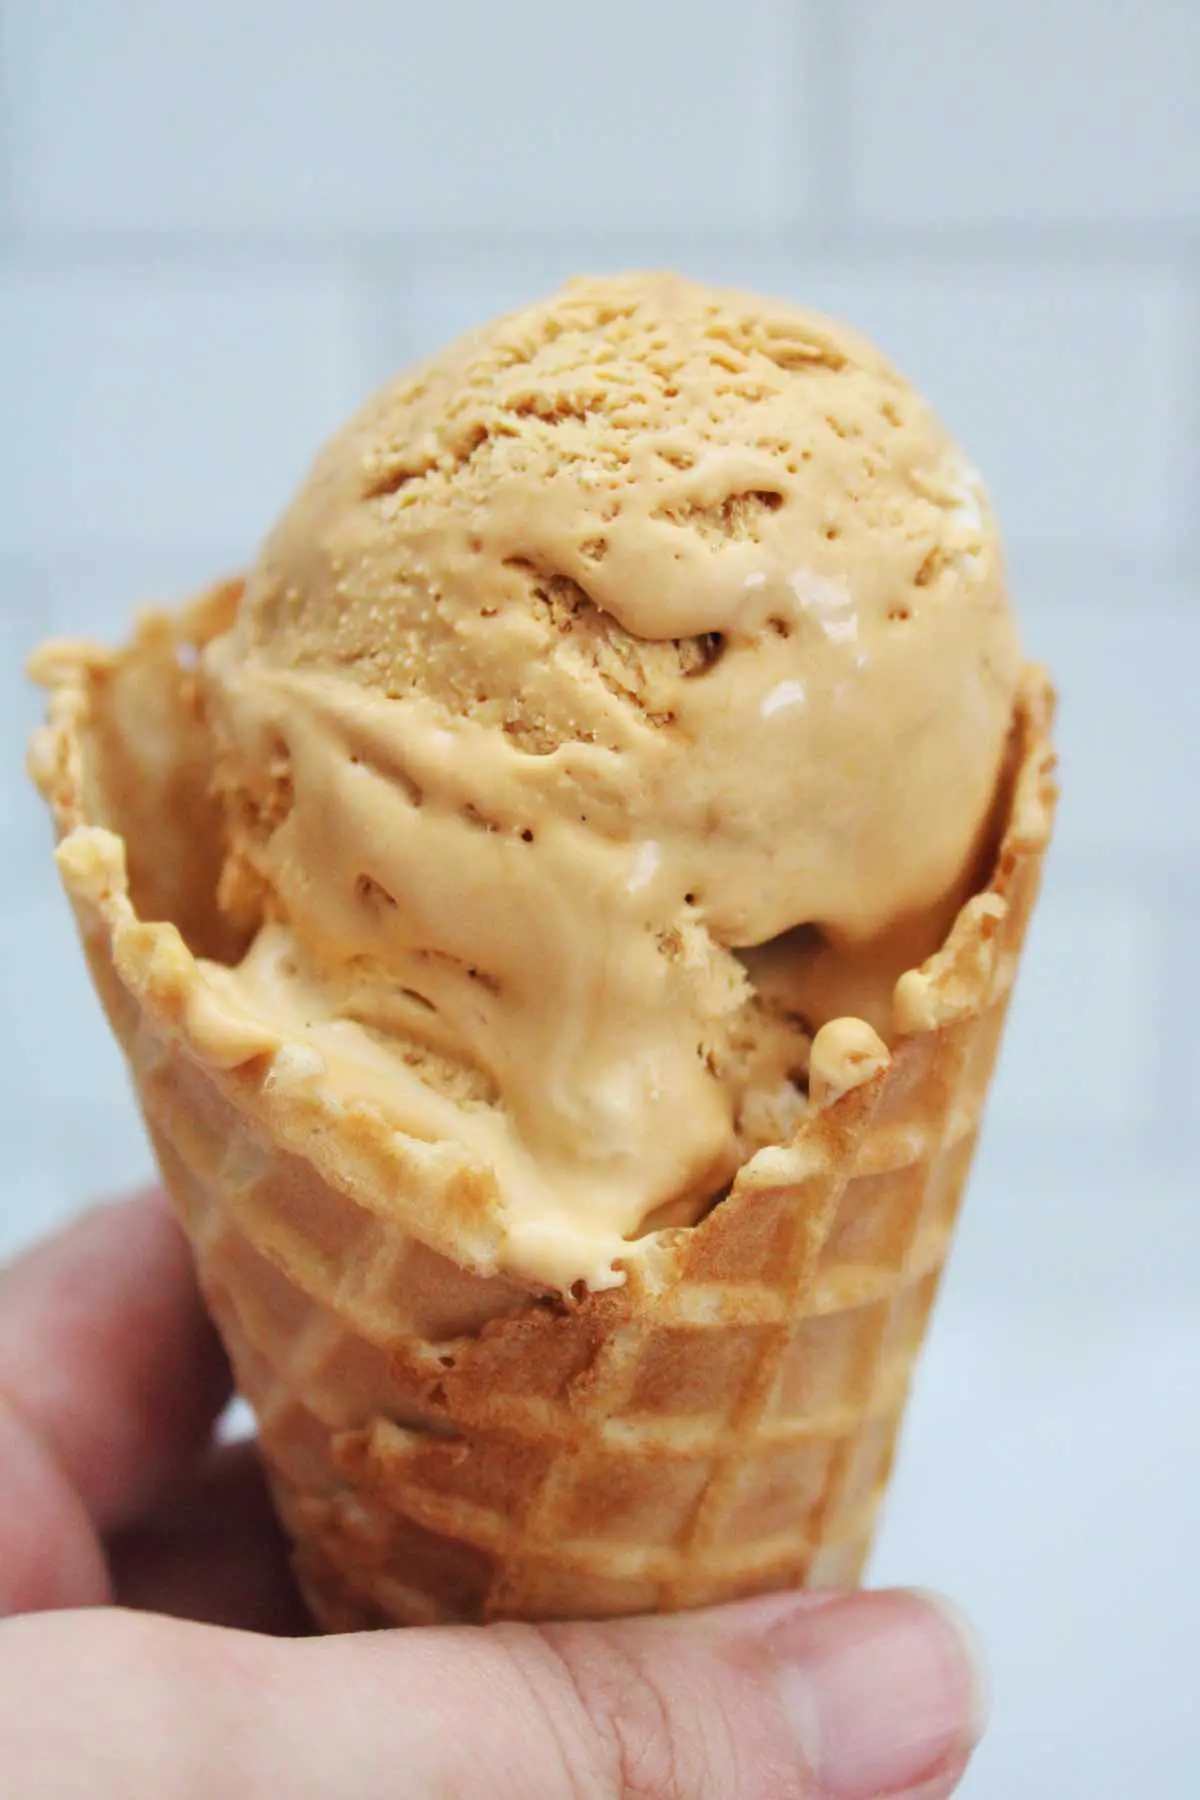
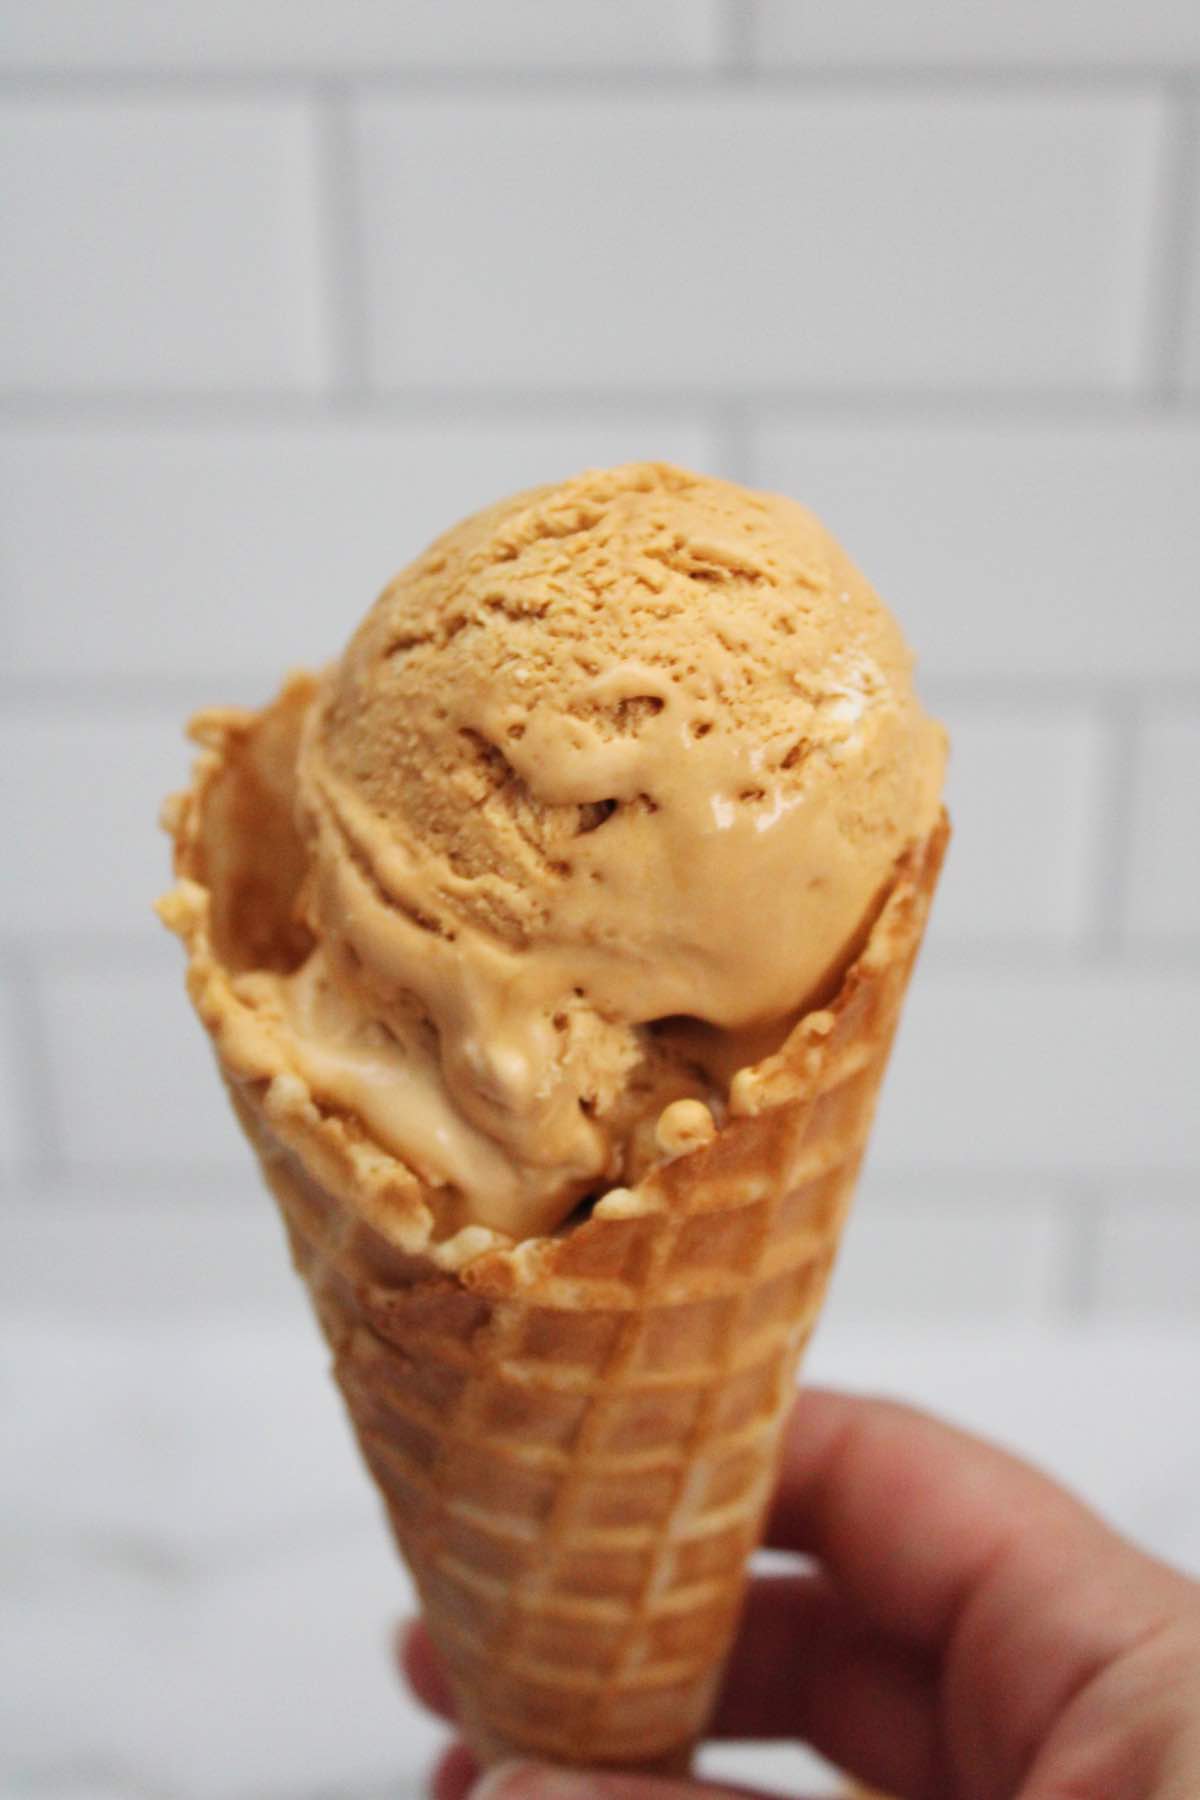
There is nothing better on a hot, summer day than a big bite of homemade dulce de leche ice cream. This no churn ice cream recipe is made with just 2 simple ingredients. Serve this delicious treat in a waffle cone or just in a bowl if you prefer. If you truly enjoyed this ice cream recipe with dulce de leche, you will love these Dulce de Leche Cupcakes and this Air Fryer Dulce de Leche Cheesecake.

This post contains affiliate links. As an Amazon Associate, I earn from qualifying purchases.
An Explanation Of The Ingredients
- Heavy Cream – Mix the heavy cream on high speed until stiff peaks form.
- Dulce de Leche – Fold the dulce de leche into the homemade whipped cream.
How To Make No Churn Dulce de Leche Ice Cream
- First, start by adding cold heavy cream to a stand mixer.
- Mix on high speed until stiff peaks form and the heavy cream resembles whipped cream.
- Use a spatula to fold in the dulce de leche a little bit at a time, just until combined.
- Transfer the ice cream to a loaf pan or pie dish and cover with plastic wrap.
- Freeze the ice cream for at least 8 hours or over night.
- Serve with your favorite toppings and enjoy!

Ice Cream Topping Ideas
- Chocolate Syrup
- Caramel Syrup
- Nuts
- Sprinkles
- Gummy Bears
- Chocolate Chips
- Butterscotch Chips
- M&Ms
Storing Suggestions
Store leftover no churn ice cream with in an air tight container. Cover the top with plastic wrap to prevent freezer burns. I recommend storing homemade no churn ice cream for up to 2 weeks in the freezer for best results.

Tips For The Best Dulce de Leche Ice Cream
- Store the ice cream for up to 2 weeks in the freezer.
- The texture will be a bit creamier than regular store bought ice cream.
- Do not over mix the heavy cream. Once you see that it has thickened and stiff peaks have formed, it’s time to fold in the dulce de leche.

Dulce de Leche Ice Cream
This no churn dulce de leche ice cream is the perfect summer time treat. This homemade ice cream recipe is made with just 2 simple ingredients you probably have on hand!
Print
Pin
Servings: 10 servings
Calories: 164kcal
Equipment
Ingredients
- 2 cups heavy cream cold
- 13.4 oz dulce de leche 1 can
Instructions
- First, start by adding cold heavy cream to a stand mixer.
- Mix on high speed until stiff peaks form and the heavy cream resembles whipped cream.
- Use a spatula to fold in the dulce de leche a little bit at a time, just until combined.
- Transfer the ice cream to a loaf pan or pie dish and cover with plastic wrap.
- Freeze the ice cream for at least 8 hours or over night.
- Serve with your favorite toppings and enjoy!
Notes
- Store the ice cream for up to 2 weeks in the freezer.
- The texture will be a bit creamier than regular store bought ice cream.
- Do not over mix the heavy cream. Once you see that it has thickened and stiff peaks have formed, it’s time to fold in the dulce de leche.
Nutrition
Calories: 164kcal | Carbohydrates: 1g | Protein: 1g | Fat: 18g | Saturated Fat: 11g | Polyunsaturated Fat: 1g | Monounsaturated Fat: 5g | Cholesterol: 65mg | Sodium: 18mg | Potassium: 36mg | Sugar: 1g | Vitamin A: 700IU | Vitamin C: 1mg | Calcium: 31mg | Iron: 1mg
